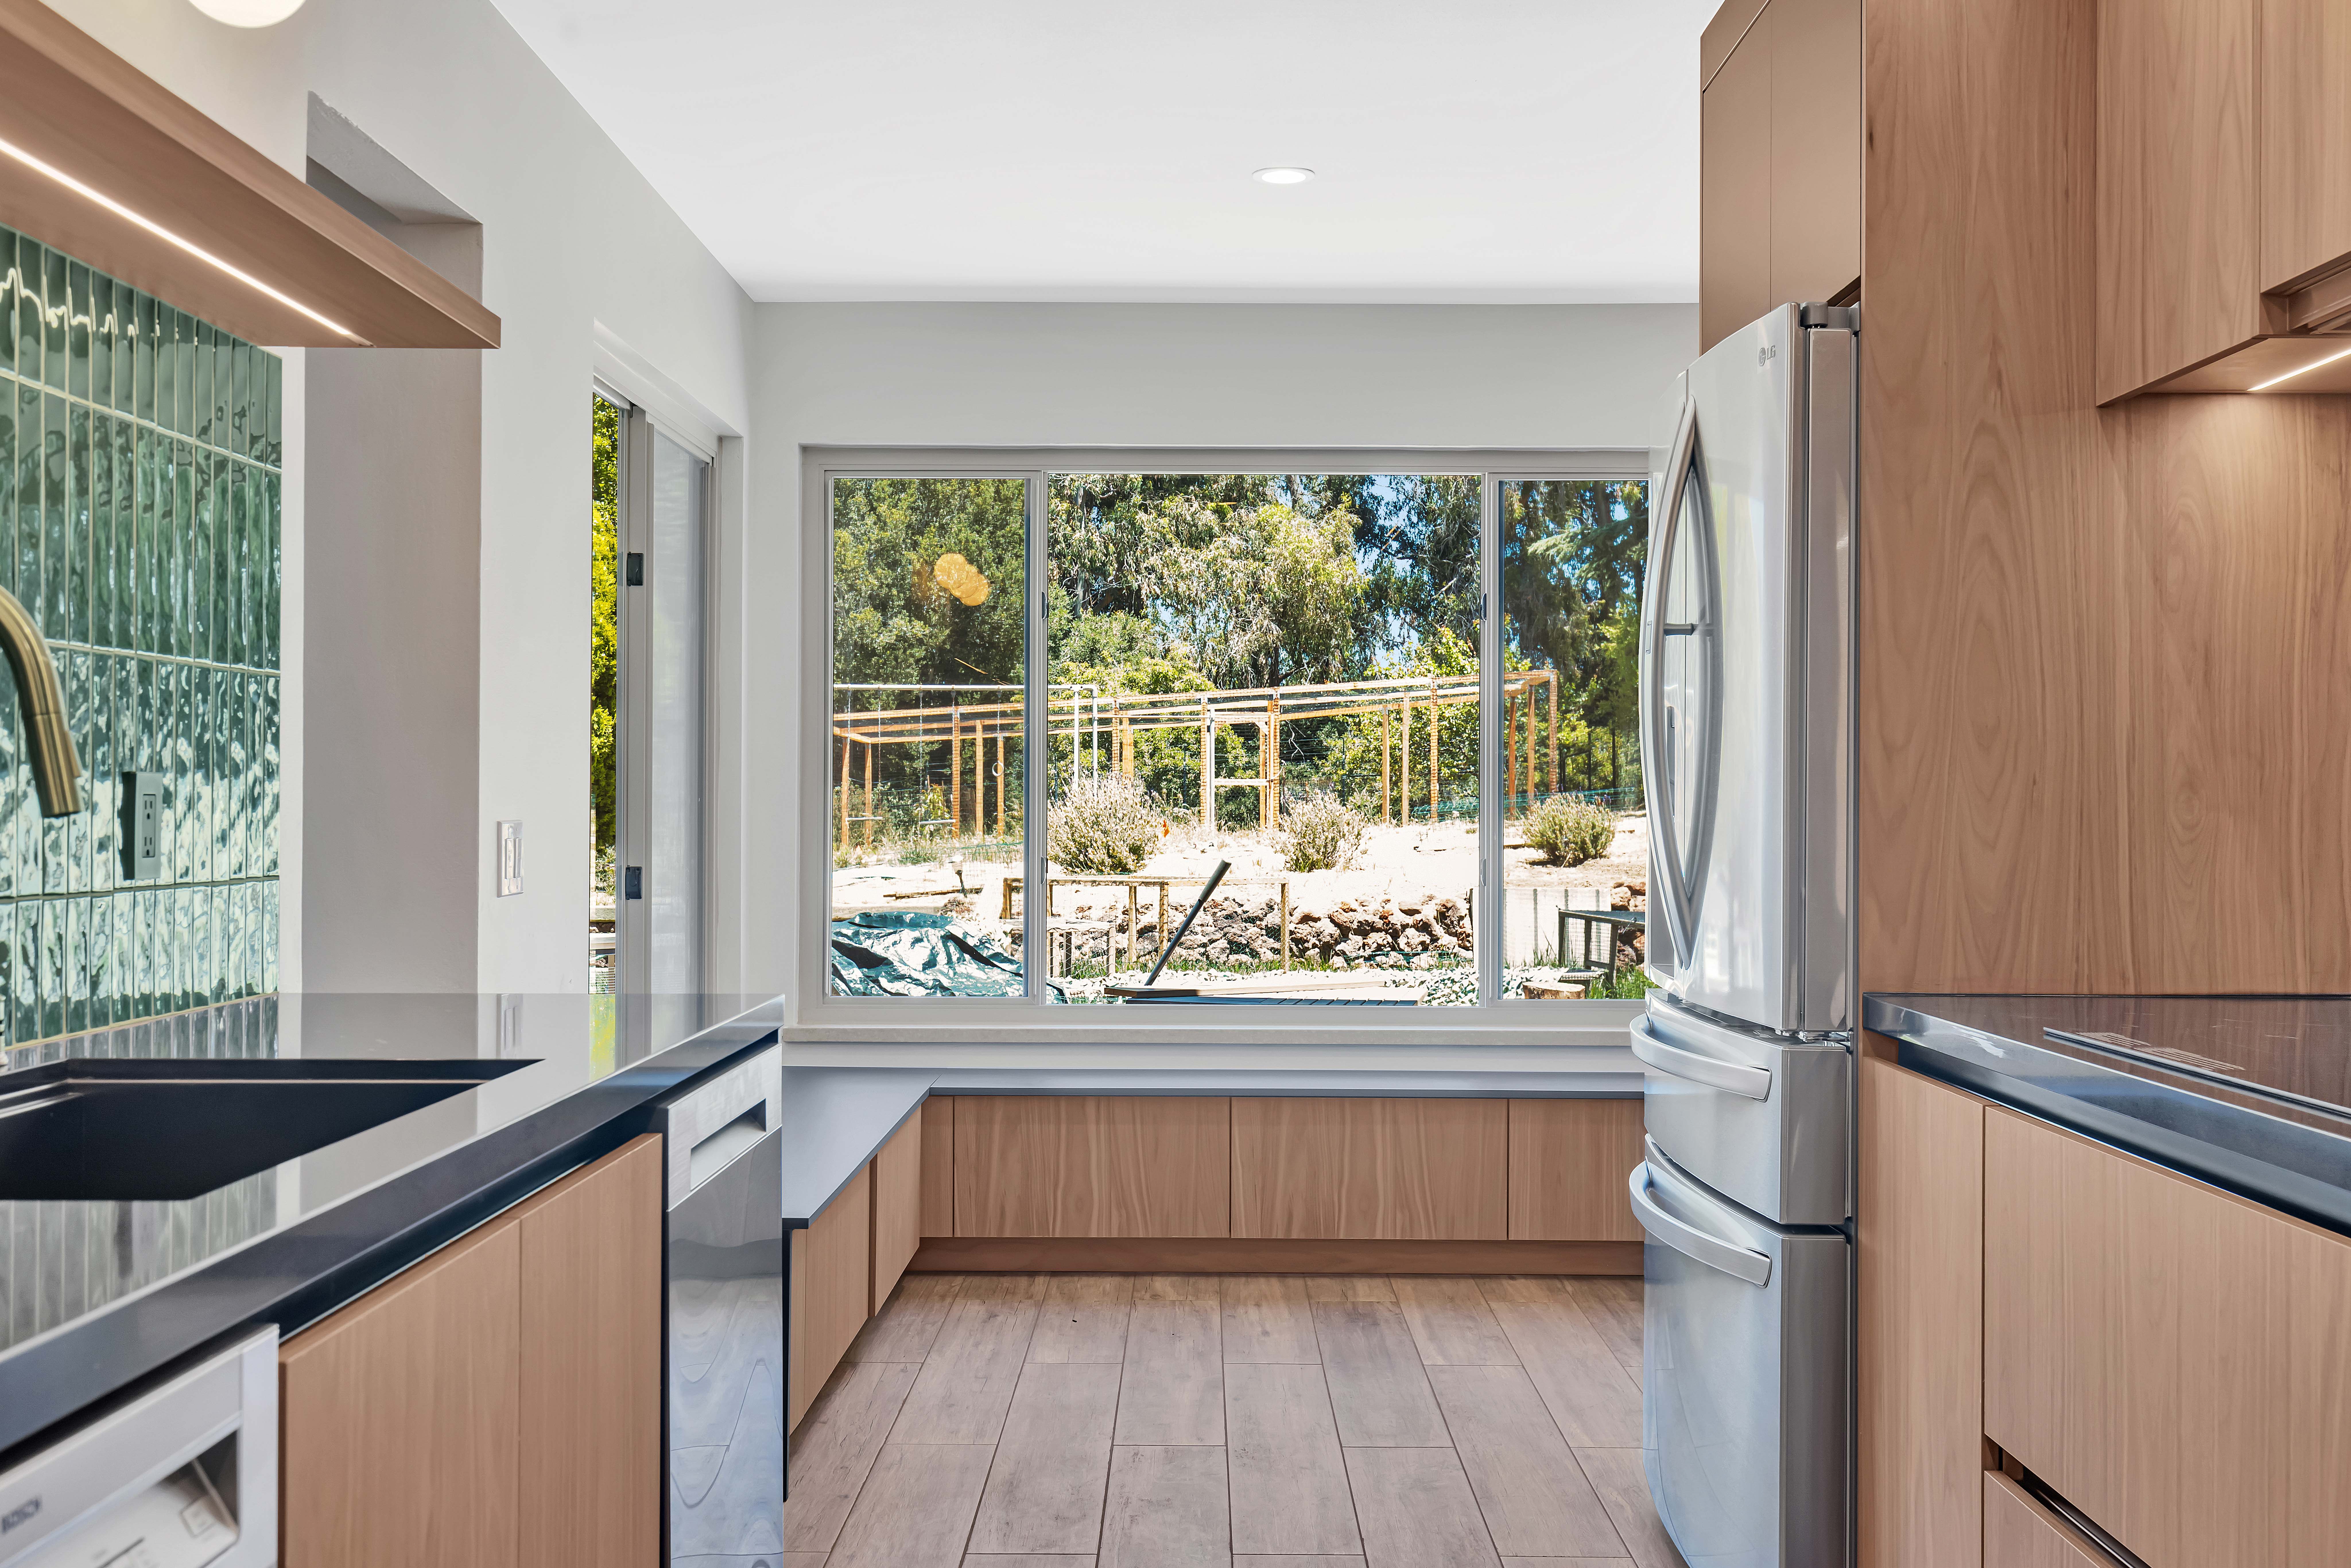
Staining kitchen cabinets is an excellent way to refresh and update the look of your kitchen. It can add depth, enhance the natural wood grain, and provide a new aesthetic without the need to replace the cabinets entirely. Whether you’re looking for a darker, more sophisticated look or a lighter, more modern style, staining your kitchen cabinets is a great option. Here’s the step-by-step guide on how to stain your kitchen cabinets:
- Prepare the Cabinets
- Clean the Surface
- Remove Hardware and Doors
- Sand the Cabinets
- Apply a Wood Conditioner (if needed)
- Choose the Right Stain
- Apply the Stain
- Let the Stain Dry
- Apply Additional Coats (optional)
- Seal the Cabinets
- Reinstall the Hardware and Doors
- Allow the Cabinets to Cure
1. Prepare the Cabinets
Before you dive into staining, make sure you have everything in place to ensure a smooth and successful project. Start by preparing your work area—preferably in a well-ventilated space. Lay down drop cloths or old sheets to protect the floor, and have all your materials ready, such as your stain, brushes, wood conditioner, and cleaning supplies. It’s essential to prepare yourself for a tidy, uninterrupted process, so organization is key.
2. Clean the Surface
Cleaning the cabinet surfaces is crucial to ensure the stain adheres evenly. Remove grease, dust, and grime using a degreasing cleaner or soap and water. Wipe down the cabinet faces, doors, and any other stained areas thoroughly with a damp cloth, ensuring no residue remains. Clean surfaces will make your work much easier and allow the stain to penetrate smoothly.
3. Remove Hardware and Doors
To prevent accidentally staining the hardware or getting stain where it isn’t intended, remove all knobs, handles, hinges, and any other hardware. If possible, also remove the doors from the cabinet frames to make the process easier. This ensures that every surface of the cabinet is accessible for an even coat of stain.
4. Sand the Cabinets
Sanding is crucial for preparing the surface of the cabinets, even if they are already finished or previously stained. Use fine-grit sandpaper to lightly sand the surfaces, focusing on rough areas and edges. This helps remove any previous finish, allowing the new stain to penetrate the wood more effectively. After sanding, wipe the surfaces with a clean cloth to remove any dust left behind.
5. Apply a Wood Conditioner (if needed)
If your cabinets are made from softwood or have uneven grain patterns, applying a wood conditioner is highly recommended. The conditioner helps the stain absorb more evenly, preventing blotchy or uneven areas. Apply the conditioner according to the manufacturer’s instructions, and wait for it to dry completely before moving on to the next step.
6. Choose the Right Stain
Choosing the right stain is one of the most important decisions you’ll make for your project. Stains come in various shades and finishes, from light hues like oak to darker tones like walnut or espresso. Consider the existing colors in your kitchen, including countertops and flooring, to find a stain that complements your space. Make sure to test a small spot to see how the color will turn out on the wood before applying it to the entire cabinet.
7. Apply the Stain
Once you’re satisfied with your stain color, use a clean brush or a rag to apply the stain to your cabinets. Work in small sections, applying the stain in long, even strokes along the grain of the wood. Be sure to avoid over-applying, as excess stain can lead to blotches or streaks. Keep a steady pace, ensuring that every part of the cabinet gets even coverage.
8. Let the Stain Dry
Allow the stain to dry completely before touching it or applying additional coats. Depending on the type of stain used, drying times may vary, but typically, it should take anywhere from 1 to 4 hours. Always check the manufacturer’s instructions to ensure proper drying time. Patience during this step is essential to achieve the best results.
9. Apply Additional Coats (optional)
If you desire a deeper, richer color, you can apply additional coats of stain. Wait for the first coat to dry completely before applying the next. When applying the second coat, remember to follow the same technique used with the first. Repeat the process until you achieve your desired shade.
10. Seal the Cabinets
Once you are happy with the stain color, it’s important to seal the cabinets to protect the finish. Use a polyurethane or varnish to create a durable and glossy finish. Apply the sealer evenly with a clean brush, making sure to cover all surfaces. Let the sealer dry completely before touching or handling the cabinets.
11. Reinstall the Hardware and Doors
Once the cabinets are fully dried and sealed, it’s time to reinstall the hardware and reattach the doors. Make sure to handle everything carefully to avoid smudging the new stain or damaging any hardware. Once everything is in place, your kitchen cabinets will look brand new with a refreshed, vibrant stain.
12. Allow the Cabinets to Cure
After all the work is done, let the cabinets cure for several days before using them. This allows the stain and finish to fully harden and ensures the longevity of your hard work. Avoid heavy usage during this time to keep the finish intact.
How to Stain Cabinets Darker?
If you’re looking to stain your cabinets a darker color, the process is similar to staining them for the first time. When staining cabinets darker, there’s no need to sand off all the previous stain or finish. Simply sand the top layer lightly to create a rough texture for the new stain to adhere to. Apply the darker stain as you would, and you’ll achieve a seamless, richer tone without needing to start from scratch.
How to Stain Cabinets Lighter?
Staining cabinets lighter requires a bit more preparation. You must sand the cabinets down to the bare wood to ensure the lighter color can take. Once the surface is clean and smooth, apply the lighter stain of your choice, and remember to test it on an inconspicuous area to ensure you’re happy with the result. To achieve a lighter color, wipe away the excess stain immediately after applying it.
What Is the Most Popular Stain Color for Kitchen Cabinets?
The most popular stain color for kitchen cabinets often depends on current trends, but a few of the top choices include classic shades like:
- Gray
- Espresso
- Walnut
- Cherry
- Whitewashed or Light Oak
The color you choose will significantly impact your kitchen’s overall style and vibe, so consider how it fits with your countertops and flooring.
Can You Stain Cabinets Without Sanding?
While sanding is generally recommended for the best results, it is possible to stain cabinets without sanding if the wood is in good condition and the surface is clean. Some people use a liquid sander/de-glosser to roughen up the surface enough to allow the stain to adhere. However, sanding the surface will always yield a more professional, long-lasting finish.
How to Stain Kitchen Cabinets Without Sanding?
To stain kitchen cabinets without sanding, first clean the cabinets thoroughly. Use a liquid sander or de-glosser to prepare the surface. This will help the stain to adhere without the need for heavy sanding. Apply your chosen stain in small sections, and allow it to dry as per the manufacturer’s instructions. This method can be quicker, but keep in mind that the finish may not be as smooth or durable as with sanding.
How Much Does It Cost to Stain Kitchen Cabinets?
The cost to stain kitchen cabinets will depend on factors such as the size of your kitchen, the type of stain, and whether you hire a professional or do it yourself. DIY costs typically range from $100 to $300 for supplies, while professional services can cost anywhere from $800 to $2,500, depending on the complexity of the job and the number of cabinets.
Is It Better to Stain or Paint Kitchen Cabinets?
Whether staining or painting kitchen cabinets is better depends on the desired look and functionality. Staining highlights the natural beauty of the wood, offering a warm, rich finish, while painting gives more flexibility in color options and can create a more uniform look. Staining is usually more durable but may require more maintenance, whereas painting can chip more easily but provides endless customization options.


